
| CTRL+A | Highlights the whole editing area |
| CTRL+B | Changes your font to bold. |
| CTRL+C | Copies the highlighted area to the clipboard |
| CTRL+I | Changes your font to italic. |
| CTRL+L | Opens the Link window. |
| CTRL+U | Changes your font to underlined. |
| CTRL+V or SHIFT+INSERT | Pastes the data from the clipboard |
| CTRL+X or SHIFT+DELETE | Cuts the highlighted area. |
| CTRL+Y or CTRL+SHIFT+Z | Starts the redo function |
| CTRL+Z | Starts the undo function. |
The following is the full set of toolbar functions for the wordprocessor in HQ. The wordprocessor is used in various locations in HQ, such as editing documents, creating emails, writing notes about a meeting, and so on. Not all of these buttons are used in all of these locations.
|
Toolbar Element |
Function |
|
|
View or edit the document source code (for advanced users). |
|
|
Removes all contents, creating a new blank page. |
|
|
Saves the page you were editing. |
|
|
Select a layout template. |
|
|
Cut the highlighted text to the clipboard. See Cut,
Copy and Paste. |
|
|
Copy the highlighted text to the clipboard. See Cut,
Copy and Paste. |
|
|
Paste the data copied to the clipboard (with or without formatting). See Cut, Copy and Paste. |
|
|
Paste content copied from Microsoft Word or similar applications. See Cut, Copy and Paste. |
|
|
Undo or redo the most recent action taken. See Undo
and Redo. |
|
|
Find a word or phrase within the document. See Find
and Replace. |
|
|
Find and replace a word or phrase within the document. See Find
and Replace. |
|
|
Select the entire text in the document. |
|
|
Remove the formatting from the highlighted text. |
|
|
Applies bold, italic, underscore or |
|
|
Superscript or subscript the highlighted text.See Superscript and subscript in Text Formatting. |
|
|
Creates numbered or bulleted lists. |
|
|
Increase or decrease the text indentation. |
|
|
Format a block of text to identify quotations (text provenient from other sources). |
|
|
Sets the text alignment (left, centered, right or justified). See Text layout and
format in Text Formatting. |
|
|
Converts or removes the text in hyperlinks. It may also by used to manage file uploads
and links to files on the web server.
|
|
|
Inserts or modifies a link anchor. |
|
|
Inserts images into the document. See Inserting
Images. |
|
|
Inserts a Adobe Flash element into the page. |
|
|
Creates a table with the defined number of columns and rows. See Tables. |
|
|
Inserts a divider line (horizontal rule). |
|
|
Inserts an emoticons image (smiley faces, email icon, lightbulb, etc.). |
|
|
Inserts symbols & special characters (accented characters, trademark, currency
symbol, etc.). |
|
|
Inserts a printing page break. Only impacts printed version. |
|
Styles & formatting determine the appearance and semantic value of your document.
You may use the drop down boxes to apply styles, set the font, its size, etc. To
remove the applied style select the style name again. See Text
Formatting. |
|
|
Changes the color of the text. See Size and color in Text
Formatting. |
|
|
Changes the background color of the text. See Size and color in Text Formatting. |
To begin cutting the text you should firstly highlight the fragment you want to cut.
After highlighting there are three methods to cut:
You can copy a highlighted area in three ways:
There are three options to paste into the text:
 on
the toolbar. This option will paste data from your clipboard. However there's
a possibility that because of your security settings placed in your browser the
editor will be enable to paste the data directly from your clipboard. If that happens
a popup window will appear with instruction what to do next.
on
the toolbar. This option will paste data from your clipboard. However there's
a possibility that because of your security settings placed in your browser the
editor will be enable to paste the data directly from your clipboard. If that happens
a popup window will appear with instruction what to do next.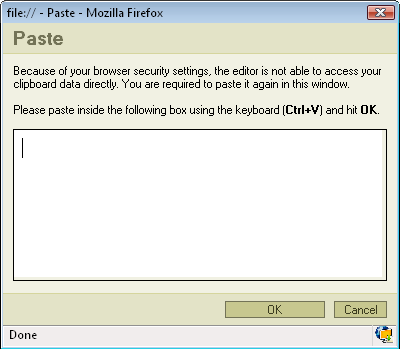
 . This option pastes a plain text which you should
first paste inside the following box by using the combination of CTRL+V keys.
. This option pastes a plain text which you should
first paste inside the following box by using the combination of CTRL+V keys.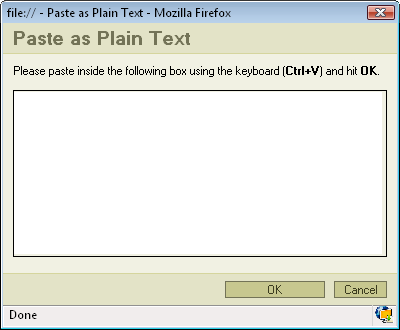
 . This option pastes a text previously written in
MS Word editor. By using this option you may paste the text from Word ignoring the
Font Face definitions or removing Styles definitions.To paste the text just press
CTRL+V key combination on your keyboard.
. This option pastes a text previously written in
MS Word editor. By using this option you may paste the text from Word ignoring the
Font Face definitions or removing Styles definitions.To paste the text just press
CTRL+V key combination on your keyboard.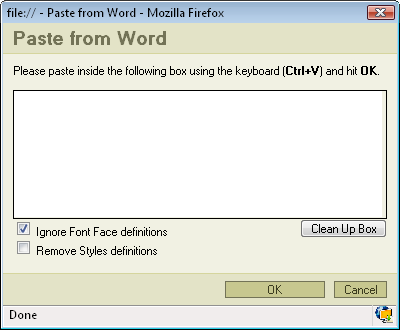
The undo function is very useful in a situation where you have made a mistake and you want to correct it quickly. For example if you've written your whole document and erased it by mistake.
You can activate the undo function in two ways:
 button
on the toolbar.
button
on the toolbar. After you activate Undo the editor will revert to the last thing you've written. For example: you've written a whole chapter in your text and you've highlighted it and than deleted it by mistake. You activate the "Undo" function and it reverts to the moment when the chapter was highlighted but before the deleting. You may of course go many steps back, not just one step.
The redo function is the exact opposite of the undo function. If you used the undo
function and than for any reason decided to go back to the state before the undo
you must use the redo function. To activate it press
 on
the toolbar.
on
the toolbar.
You may arrange the way you font looks like by choosing whether the font should be bold, italic, underlined or 'stroked through'.
 on
the toolbar.
on
the toolbar.  on
the toolbar .
on
the toolbar .  on the toolbar.
  on the toolbar.
 Example:
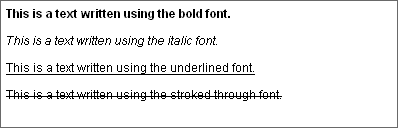
If you choose any of these options you will see that the button on the toolbar will highlight whenever this section of text is selected. If you want to disable the function press its button again. Of course you can mix these options as much as you want.
Example:
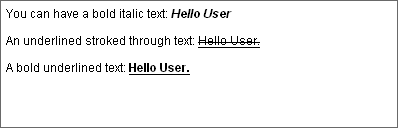
Notice that if you don't switch the underline option off the underline will go between your blanks.
Example:

The same thing happens when you use the strike through function.
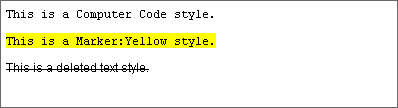
It is quite easy to make your text looking ugly or difficult to read using too many different formats. Styles help to make formatting uniform across the text.
Each style option contains a predefined combination of formatting features, which have been pre-defined. Styles are also a way to combine all the formatting function described in this page. They give you fast access to the common used text formats.
For example: you don't have to change the font, its color, its background, its size. You simply peak a style you prefer from the Style menu and start typing.
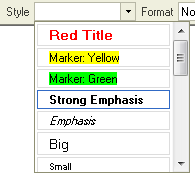
This is the best way to quickly change the look of your document.
Example:
A paragraph of text can be aligned to either of the sides of the document, as well as centering. You may also force the lines to take the entire space available in the document (like aligning to both sides at the same time).
To align your text at the left side of the editing area, press the
 button on the toolbar.
Example:

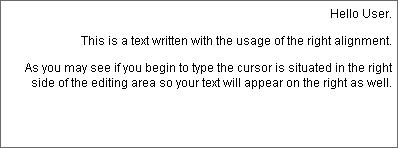
If you want instead to have the text aligned at the right side of the editing
area, just press the button
 on the toolbar.
Example:
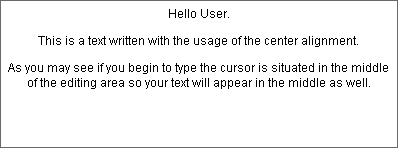
In order to align your text at the center of the document, press the
 on your toolbar.
Example:
The last option is the block alignment. If you want to activate it press
 on the toolbar. This function is similar to the left
alignment. You also begin typing from the left side of the screen. The difference
is seen when writing several lines of text. Each one will have the same length even
though they don't have to have the same amount of words or letters. The lines
will just expand and the text will be equally long so that the lines will end in
the same place.
on the toolbar. This function is similar to the left
alignment. You also begin typing from the left side of the screen. The difference
is seen when writing several lines of text. Each one will have the same length even
though they don't have to have the same amount of words or letters. The lines
will just expand and the text will be equally long so that the lines will end in
the same place.
Example:

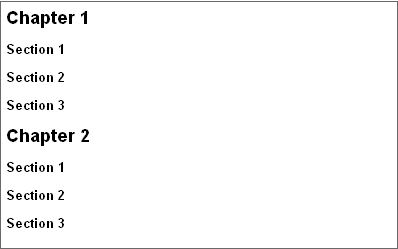
Another very important feature is the Format menu:
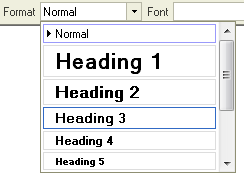
A format is used for organizing your text and to distinguish different parts of your text. For example if you want to start a new chapter or to put different categories and subcategories you use the format menu and choose different headings.
Example:
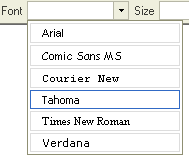
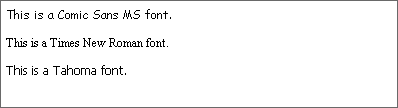
The most commonly used fonts are "Times New Roman" and "Arial". They are used in most documents created in the world and are often used in formal documents. If you wish to use a different font you are of course more than welcome to do so. To choose a font you want to type in access the font menu in your toolbar and click on the font you decided to use.
Example:
Example
Try to avoid overusing this feature. You can easily produce a document that looks bad or is difficult to read. Give preference to the Styles menu instead.
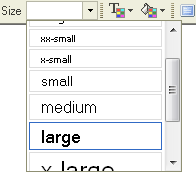
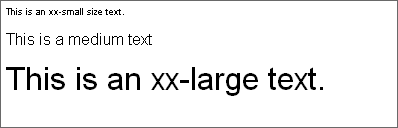
To change you font size open the "Size" menu in the toolbar.
Example:
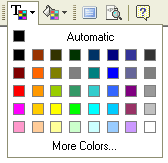
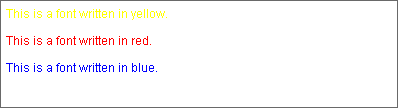
The other option to make your text look different is changing either the text colour
or its background colour. If you want to change your text colour press the text
colour button
 . Several colours will appear in a menu. If you are
not satisfied with the colours available in that panel click "More colors...".
. Several colours will appear in a menu. If you are
not satisfied with the colours available in that panel click "More colors...".
To choose the colour you want to use, just click on it.
Example:
Example:
You may also change the text background colour using the button
 . Again you will find a range of colours the same
ones as in the text colour. Click on the colour you want to choose.
. Again you will find a range of colours the same
ones as in the text colour. Click on the colour you want to choose.
Example:

You may also mix the colours of your text and the background.
Subscript and superscript are often used for mathematical texts. Subscript is a
way to put an index to a letter or to a number. The subscript has a smaller font
than the normal text. To activate subscript you must press the
 button on the toolbar.
Example:
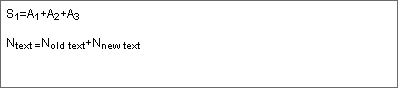
As you can see, subscript can be applied to either a number or a letter.
The superscript function works in the same way as the subscript, but instead of
placing the index in the bottom you place it in the top. This function is usually
used in mathematical equations to write the "to the power of" function.
You can access it from the toolbar using the
 button.
Example:
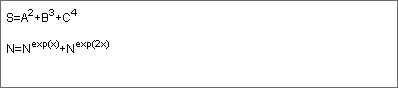
You can also mix these two functions:
Example:
